

How to Integrate Pimlico with Lit Protocol OTP Authentication
This how-to guide will walk you through the steps to integrate Lit Protocol's OTP sign-in with email, SMS, and Whatsapp with a smart account whose user operations are relayed and sponsored by Pimlico.
Stytch will be used to manage the OTP authentication flow.
Install the required packages
npm install stytch @lit-protocol/pkp-ethers @lit-protocol/lit-auth-client @lit-protocol/auth-helpers @lit-protocol/types @lit-protocol/lit-node-client-nodejsMake an account with Stytch and get the Project ID and Secret
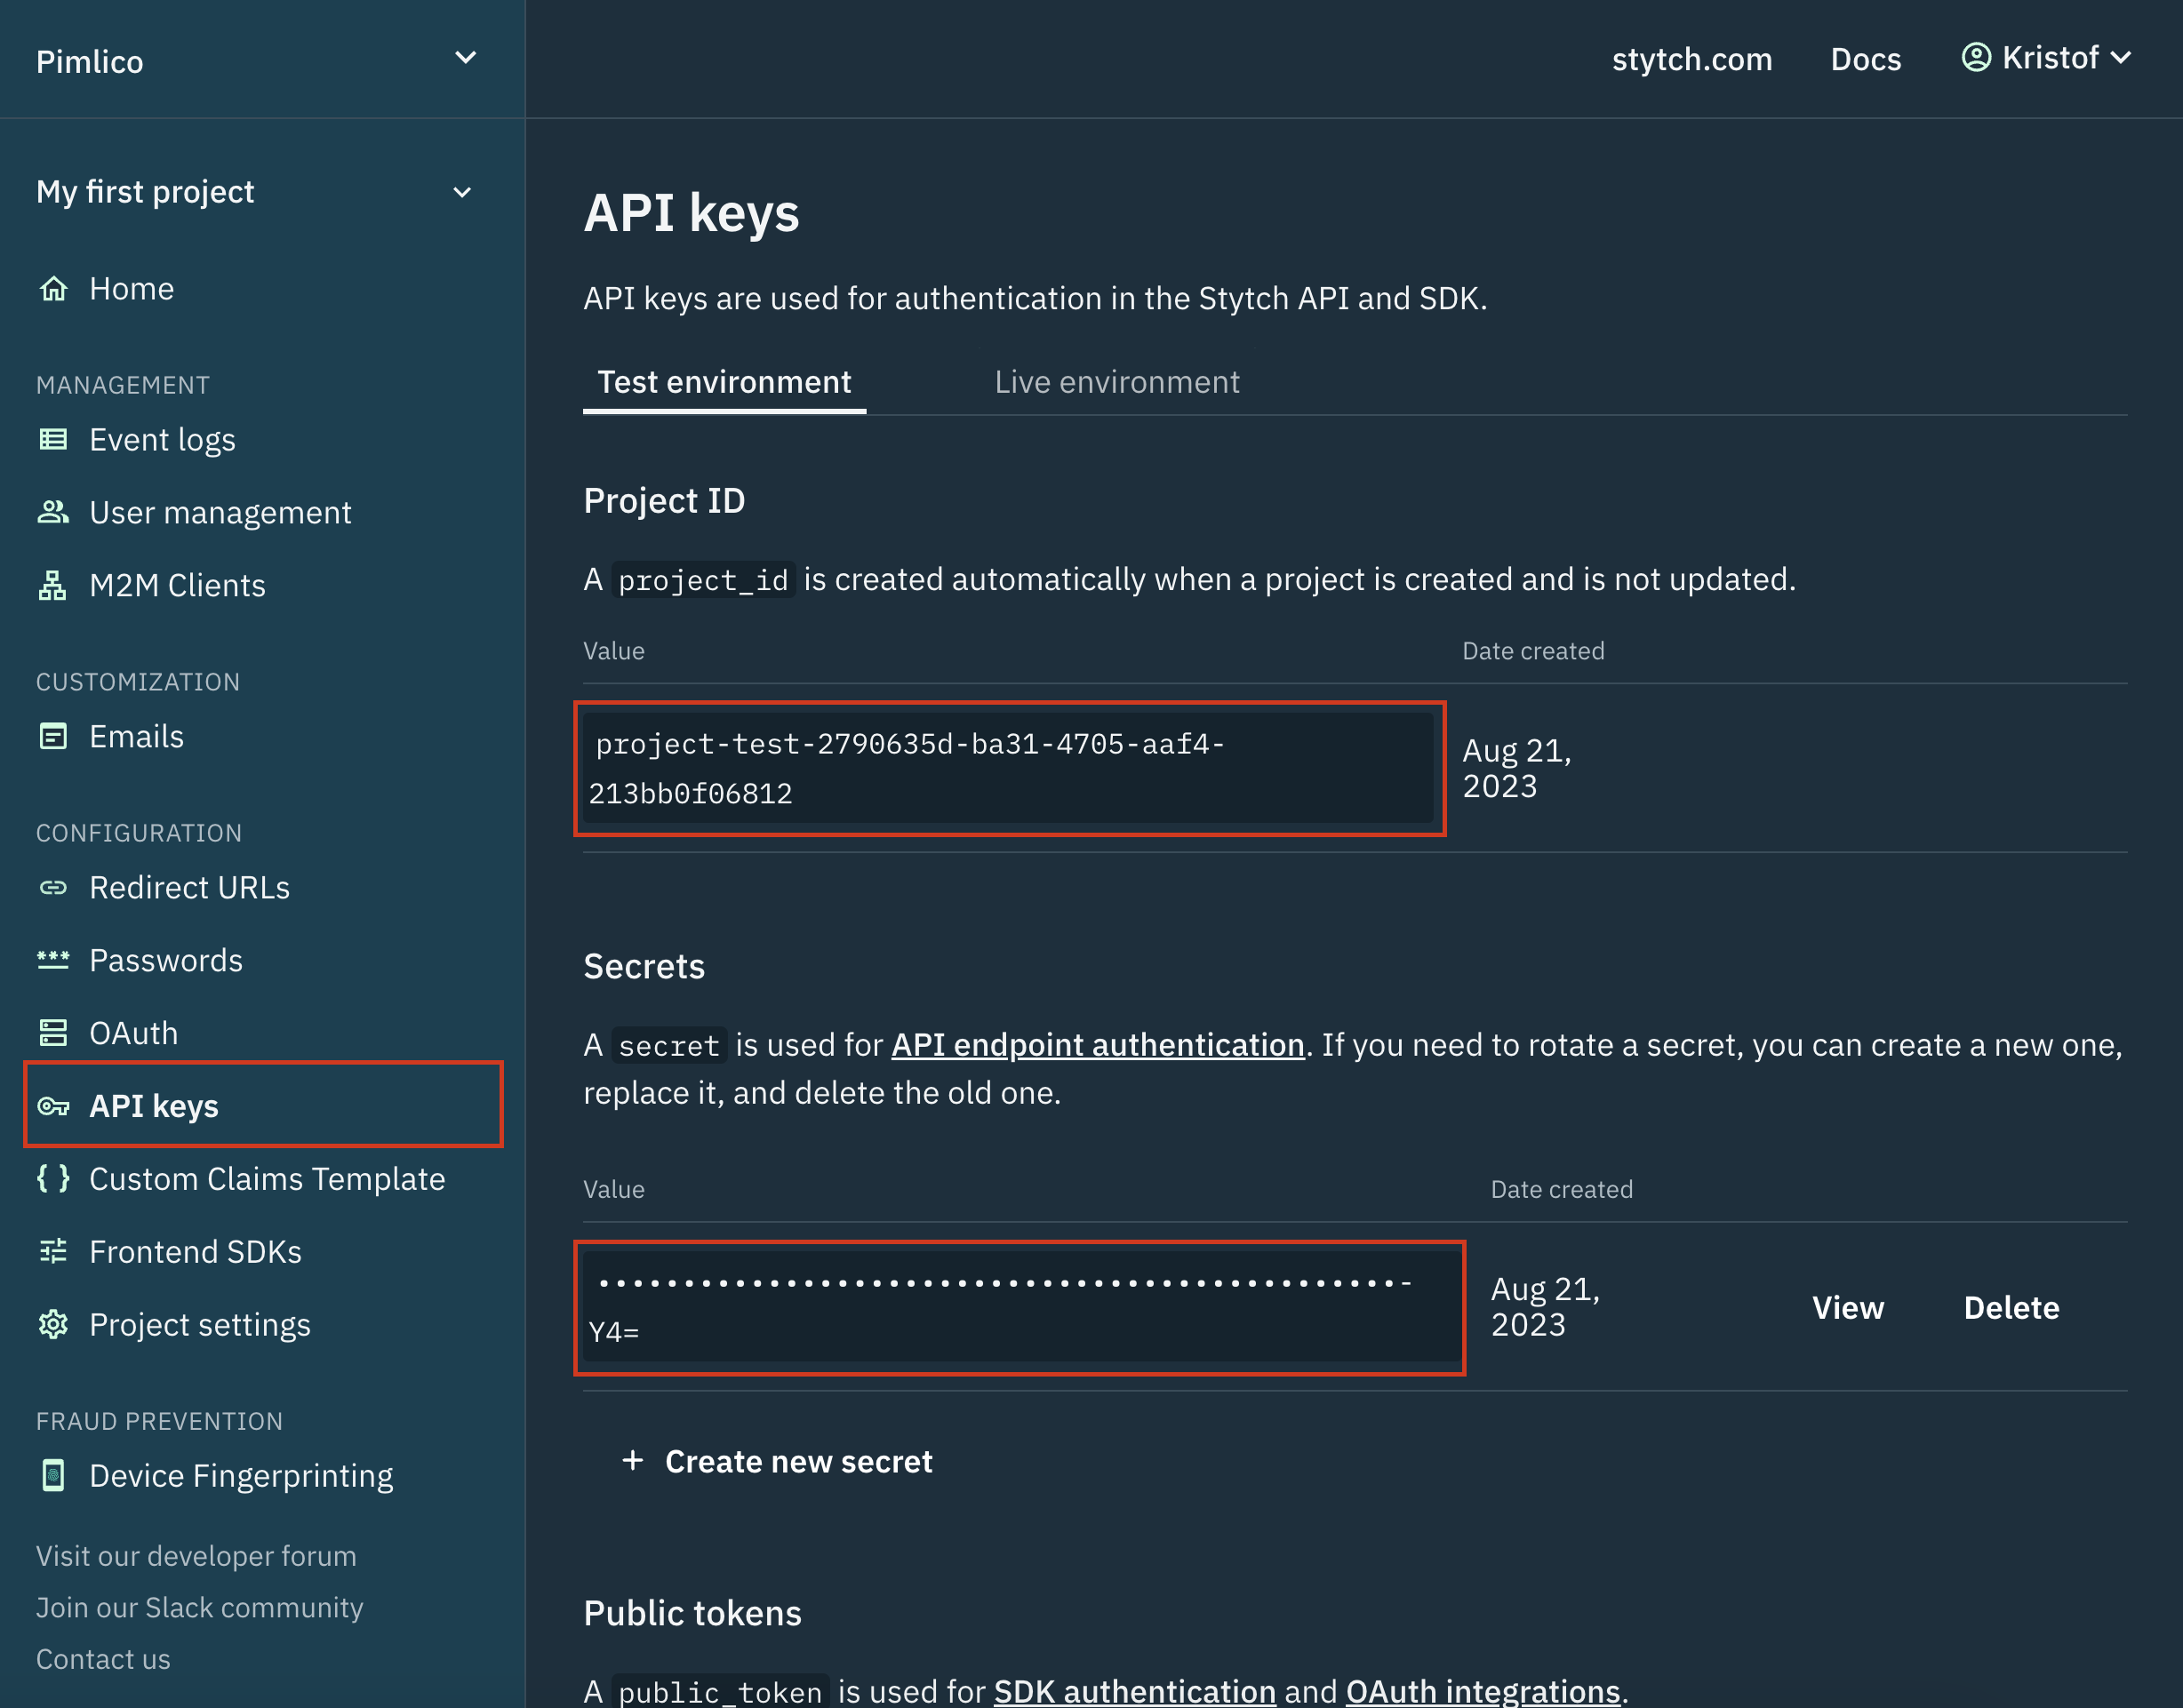
You can sign up for a Stytch account here. Once you have an account, you can find your Project ID and Secret in the Stytch Dashboard API Keys page.
Create a Stytch client with your Project ID and Secret
const stytchClient = new stytch.Client({
project_id: "project-test-XXXXXXXX-XXXX-XXXX-XXXX-XXXXXXXXXXXX",
secret: "secret-test-XXXXXXXXXXXXXXXXXXXXXXXXXXXXXXXXXXX",
});Send an OTP to the user's email, SMS, or Whatsapp
const stytchResponse = await stytchClient.otps.email.loginOrCreate({
email: "<Your Email Address>",
})Authenticate the user with the OTP and get a session token
const authResponse = await stytchClient.otps.authenticate({
method_id: stytchResponse.email_id,
code: otpResponse.code,
session_duration_minutes: 60 * 24 * 7,
})
const sessionStatus = await stytchClient.sessions.authenticate({
session_token: authResponse.session_token,
})Get a Lit Relay Server API Key
You can get a Lit Relay Server API Key by filling out the Lit Protocol team's form
Mint a PKPs through Lit Protocol
const litClient = new LitAuthClient({
litRelayConfig: {
relayApiKey: '<Your Lit Relay Server API Key from the previous step>',
}
});
const session = litClient.initProvider(ProviderType.StytchOtp, {
userId: sessionStatus.session.user_id,
appId: "project-test-XXXXXXXX-XXXX-XXXX-XXXX-XXXXXXXXXXXX"
})
const authMethod = await session.authenticate({
accessToken: sessionStatus.session_jwt
})
await session.mintPKPThroughRelayer(authMethod)
const pkps = await session.fetchPKPsThroughRelayer(authMethod)Generate the Controller Session Signatures
const litNodeClient = new LitNodeClientNodeJs({
litNetwork: 'serrano',
debug: false,
})
await litNodeClient.connect();
const resourceAbilities = [
{
resource: new LitActionResource("*"),
ability: LitAbility.PKPSigning,
},
];
const sessionKeyPair = litNodeClient.getSessionKey();
const authNeededCallback = async (params: AuthCallbackParams) => {
const response = await litNodeClient.signSessionKey({
sessionKey: sessionKeyPair,
statement: params.statement,
authMethods: [authMethod],
pkpPublicKey: pkp[pkp.length - 1].publicKey,
expiration: params.expiration,
resources: params.resources,
chainId: 1,
});
return response.authSig;
};
const sessionSigs = await litNodeClient.getSessionSigs({
chain: "ethereum",
expiration: new Date(Date.now() + 1000 * 60 * 60 * 24 * 7).toISOString(),
resourceAbilityRequests: resourceAbilities,
sessionKey: sessionKeyPair,
authNeededCallback
}).catch((err) => {
console.log("error while attempting to access session signatures: ", err)
throw err;
});Initialize the PKP Wallet
We will now generate a wallet that can act a regular Ethers.js wallet, but will use the PKPs minted through Lit Protocol to sign transactions under the hood.
const pkpWallet = new PKPEthersWallet({
pkpPubKey: pkp[pkp.length - 1].publicKey,
rpc: "<standard RPC URL for the chain you are using>", // e.g. https://sepolia.rpc.thirdweb.com
controllerSessionSigs: sessionSigs
});
await pkpWallet.init();Use the PKP Wallet to sign user operations and send them through Pimlico
You can now use the pkpWallet as a regular Ethers.js wallet to sign user operations. To submit a user operation to Pimlico, you can follow the steps to sponsor a user operation with Pimlico's verifying paymaster and/or submit a user operation through Pimlico's bundler. If you would like to integrate Lit Protocol with the full flow of generating, signing, and submitting a user operation, you can follow the steps in tutorial 1, replacing the signing step with the PKP wallet and using pkpWallet.address as the owner address of the smart account.
Modified from tutorial 1, an example of how to use the PKP wallet to sign a user operation is shown below:
const signature = await pkpWallet.signMessage(
ethers.utils.arrayify(await entryPoint.getUserOpHash(userOperation)),
)
userOperation.signature = signatureAnd an example of how you would generate the initCode for a SimpleAccount using the PKP wallet is shown below:
const initCode = ethers.utils.hexConcat([
SIMPLE_ACCOUNT_FACTORY_ADDRESS,
simpleAccountFactory.interface.encodeFunctionData("createAccount", [pkpWallet.address, 0]),
])